
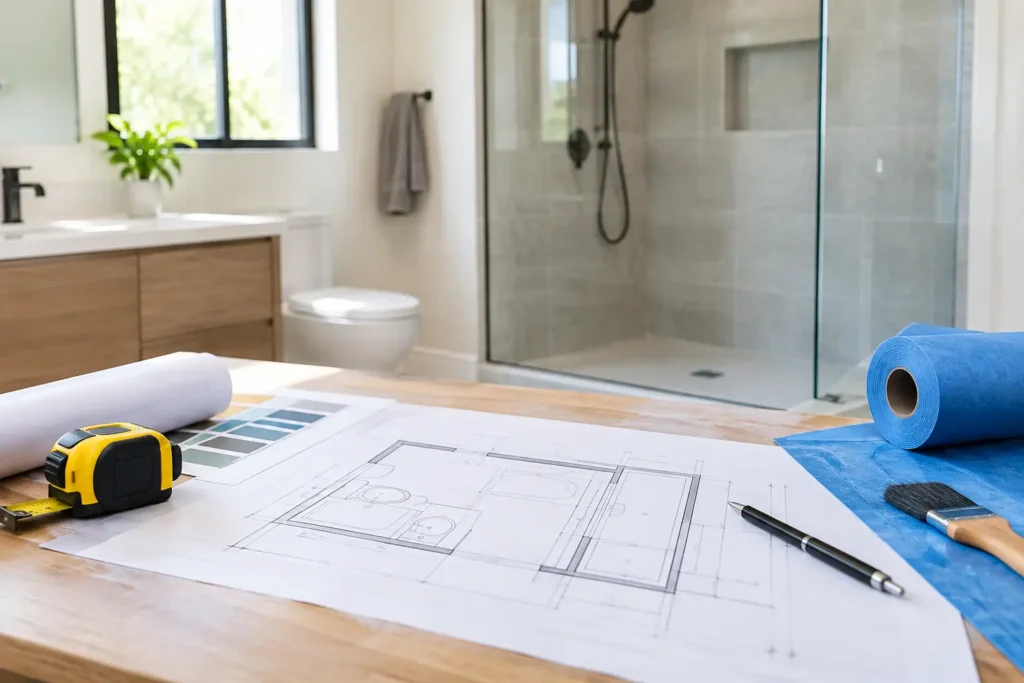
A beautiful bathroom can lose its value quickly when water reaches the wrong place. A loose tile, a cracked grout line, or a poorly finished shower junction may look minor, but the moisture behind it can damage framing, flooring, adjoining rooms, and even neighboring apartments. This bathroom waterproofing planning guide helps homeowners make smart decisions before demolition begins, when preventing expensive problems is far easier than repairing them.
Waterproofing is not the visible finish of a bathroom renovation. It is the protective layer beneath the tile, stone, or other surface material. Planning it properly gives your new bathroom the strong, durable foundation it needs for years of comfortable daily use.
Start Waterproofing Planning Before Choosing Tile
Most homeowners naturally begin with the look of the room: a floating vanity, a walk-in shower, a freestanding tub, or a warm neutral tile palette. Those choices matter, but the waterproofing plan needs to shape the design from the start.
For example, a curbless shower needs more planning than a standard shower base. The floor must have the correct fall toward the drain, and the waterproofed area often extends further into the room. A recessed niche, wall-hung vanity, linear drain, or shower bench also creates additional edges and penetrations that require careful detailing.
This does not mean avoiding the features you want. It means ensuring the layout, plumbing locations, substrate, drainage, and waterproofing system work together. A skilled renovation team can help you retain the luxurious details while making practical decisions that protect the home.
Before finalizing the bathroom layout, consider how the space will be used. A family bathroom with frequent showers has different demands from a lightly used powder room. An apartment bathroom may require extra care around shared walls and floor levels, while an aging-in-place renovation may prioritize a low-entry shower and secure slip-resistant flooring.
Define the Wet Areas Clearly
Waterproofing should be planned around real water exposure, not simply the room boundary. The shower area is the obvious priority, but water can also reach floors around bathtubs, vanities, toilets, and laundry-style fixtures. Splashes, leaks, cleaning, and humidity all influence the final scope.
A complete plan identifies where waterproofing will go, how high it will extend on walls, and how it will connect at corners, floor-to-wall junctions, drains, plumbing penetrations, and thresholds. These transition points are where many failures begin.
A well-planned scope usually addresses four key areas:
- The shower floor and walls, including niches, benches, and plumbing outlets
- The bathroom floor, particularly around the shower entry, toilet, vanity, and bathtub
- Wall-to-floor junctions and internal corners, where movement can create cracks
- Doorways, drains, and pipe penetrations, where layers must be sealed without blocking intended drainage
The exact treatment depends on the room layout and the waterproofing system selected. A compact bathroom with a fully enclosed shower may need a different approach than an open-plan wet room. The important point is that no one should be making those decisions after tile installation has already started.
Choose a System, Not Just a Product
Waterproofing is often discussed as if it were one coating applied before tiling. In practice, it is a system of compatible materials installed in a defined sequence. That may include surface preparation, primers, bond breakers or reinforcing tape, membrane coats, corner treatment, drain detailing, and protective measures before the tiler begins.
The right membrane depends on the substrate and design. Cement sheet, screed, concrete, and existing structural flooring can each require different preparation. Some systems are better suited to complex layouts and tight detailing, while others may be appropriate for straightforward floors and walls.
Do not select a waterproofing product based only on a low materials price. The cost of the membrane is small compared with the cost of removing finished tiles, repairing water damage, and rebuilding the room if the application fails. Durable workmanship, compatible materials, and proper preparation are where the long-term value lies.
It also helps to avoid mixing systems casually. Primer, membrane, tape, sealants, and adhesives should be selected with the manufacturer requirements and installation conditions in mind. A dependable contractor will explain the proposed approach in plain language rather than asking you to compare technical products without context.
Get the Sequence of Trades Right
A bathroom renovation moves quickly when each trade has a clear handoff. Waterproofing sits in the middle of that sequence, after the room has been prepared but before tiles and finished fixtures are installed.
Typically, demolition comes first, followed by structural repairs if needed. Plumbing and electrical rough-ins are then completed, wall and floor substrates are installed or repaired, and the shower base or screed is formed to direct water toward the drain. Only when those elements are ready should waterproofing begin.
After the membrane has been applied and allowed to cure as required, the tiling work can proceed. Grout and silicone are finishing materials, not substitutes for waterproofing. They help complete the surface, but the real water barrier must already be in place below.
This sequence matters because rushed changes are expensive. Moving a drain after the floor has been waterproofed, cutting into a finished niche, or changing from a standard shower to a frameless open design can affect the integrity of the system. Confirm fixtures, shower screen style, drain position, and tile thickness before work reaches this stage.
Plan for Drainage and Movement
Waterproofing cannot compensate for poor drainage. A shower floor must guide water to the drain rather than allowing it to pond in corners or escape through the bathroom doorway. The floor slope, drain placement, tile size, and shower screen configuration all influence how the room performs.
Large-format tiles can create a clean, contemporary look, but they are not always the easiest choice for a shower floor with multiple falls. Smaller tiles or mosaic sheets can follow the slope more naturally and may provide additional grip. The best choice depends on the design, cleaning preferences, and safety needs of the household.
Movement is another consideration. Buildings settle, materials expand and contract, and bathrooms experience regular temperature and moisture changes. Proper junction treatment and flexible sealant placement help manage that movement. These details are rarely glamorous, but they protect the refined finishes you see every day.
Ask the Right Questions Before Work Begins
A clear quote should identify what is included in the waterproofing scope rather than treating it as a vague allowance. Homeowners should feel comfortable asking where the membrane will be applied, how drains and corners will be detailed, what substrate preparation is included, and how curing time will affect the schedule.
Ask who is responsible for each stage and how the work will be checked before tiling begins. For apartment renovations, also ask whether building management requirements, access restrictions, or approved work hours could affect the program. Planning these matters early helps keep the renovation clear and reliable from start to finish.
Documentation is valuable too. Photos of the prepared substrate and completed waterproofing layer can provide useful records before surfaces are covered. Your contractor should also be properly licensed and insured, with workmanship that aligns with applicable local requirements.
Budget for Protection, Not Just Appearance
When comparing renovation estimates, it is tempting to focus on the visible upgrades: the vanity, tile, tapware, lighting, and shower screen. Yet waterproofing is one of the most important investments in the room because it protects every finish installed above it.
Costs vary with bathroom size, substrate condition, shower design, floor leveling needs, drain changes, and access. A simple replacement bathroom may require limited corrective work. An older home may reveal uneven floors, deteriorated wall linings, hidden leaks, or damaged framing once demolition starts. Allowing a sensible contingency gives the project room to address genuine issues without sacrificing the quality of the finished result.
For homeowners in Waitara, Wahroonga, Normanhurst, Thornleigh, Pennant Hills, Beecroft, and surrounding Sydney areas, working with a planning-led renovation team can reduce uncertainty. SCIT helps turn design goals into a practical scope, with careful attention to layout, durable finishes, and the unseen details that support them.
A bathroom should feel like a calm, polished retreat, not a source of concern behind the walls. Give waterproofing the same attention you give tile and fixtures, and your renovation will be better prepared to deliver comfort, value, and confidence every day.